By Mary Drew at Pasty Central (Mdrew) on Thursday, May 20, 2021 - 12:13 pm:
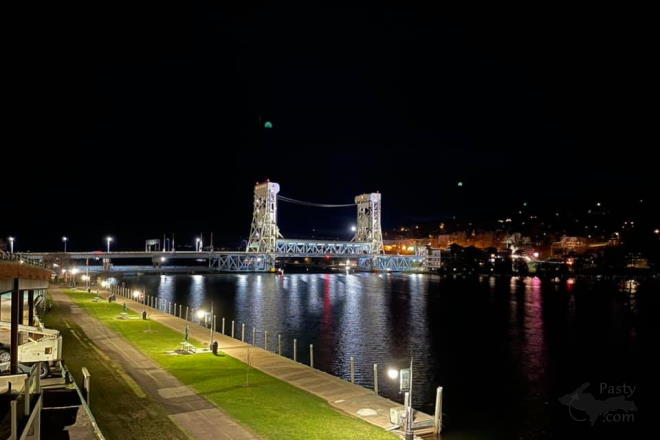
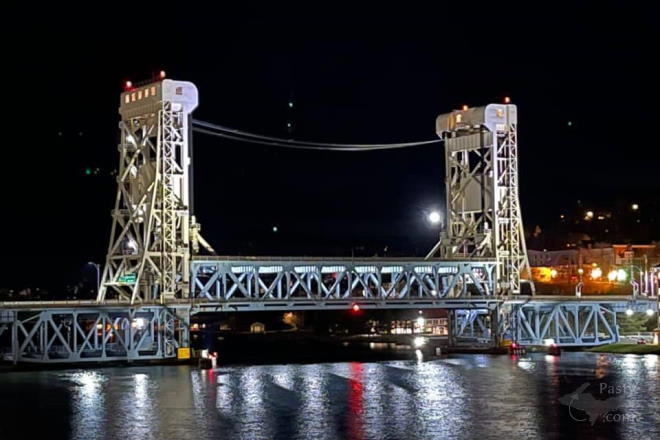
Seems like this is a “night sky” kind of week here on the Pasty Cam. These two shots were snapped by Taana Blom from the Houghton side of the Portage Canal, looking at the Gateway to the Keweenaw. I love the way she incorporated the Houghton Waterfront Trail and docks in the first shot. The reflections of the lights in the water are stunning, too, the whole effect makes the Portage Lake Lift Bridge shine!
Erin, from Smart Creative Marketing Agency was up early to capture the sunrise and morning commuters on the Bridge recently. If you’re interested in creating your own timelapse video, the Smart Creative folks offer the following tips to get you started:
1) Use a tripod. Time-lapses involve leaving your camera set up for lengthy periods of time, and you won’t be able to handhold your camera for that span of time.
2) For a high-quality time-lapse, shoot in manual mode. You gain control over how the final image looks and avoid issues with things like flicker. Flicker happens when the camera adjusts the exposure in the middle of the shoot.
3) Select your interval. If you want to capture some clouds moving over a Lake Superior for three hours, and know you want a 15-second final video of the event, then you can calculate it this way: First, find out how many frames you will need (24 x 15 = 360 frames). Then calculate the number of minutes you will be shooting (3 x 60 = 180 minutes) and divide the minutes by the number of frames you need (360/180 = 0.5 minutes = 30 seconds). This means you set your interval to be 30 seconds. A few seconds is a good interval for faster moving subjects, such as people walking. But for slower moving subjects, like clouds, a longer interval will provide a more interesting timelapse.


